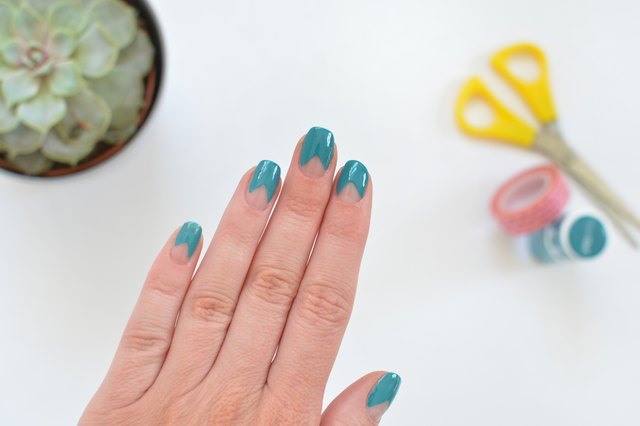
Nail art is a great way to showcase your creativity and style! I love painting my nails so I'm always looking out for new trends. One of my favorites right now is negative space nail art. This simple design is a modern twist on the classic manicure that doesn't require much skill to achieve!
Things You'll Need
Nail polish
Clear top coat polish
Tape
Fine paintbrush
Nail polish remover
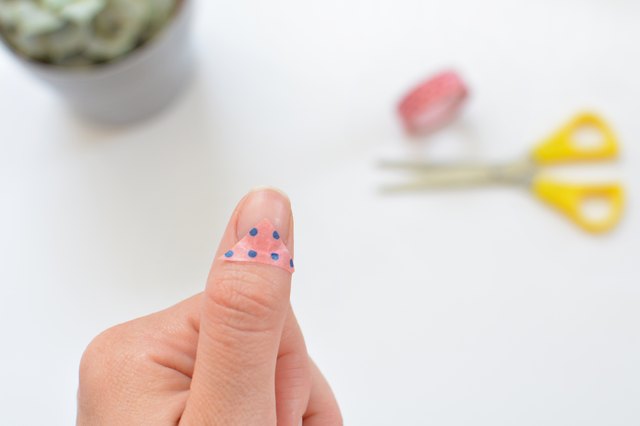
Step 1
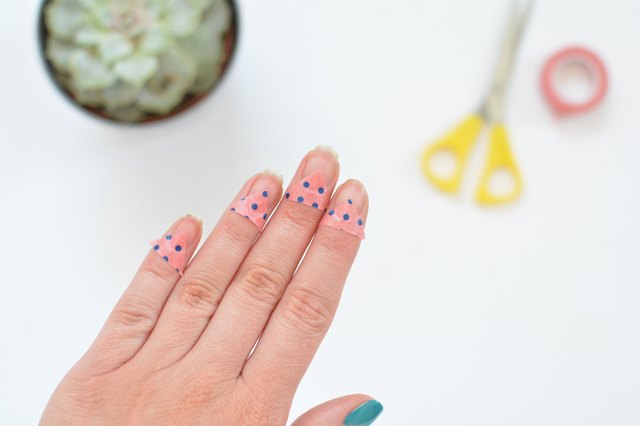
Cut a piece of sticky tape into a triangle shape. Center and place the tape triangle over the moon of your nail, then press the tape down onto the nail and cuticle, pressing down firmly at the edges.
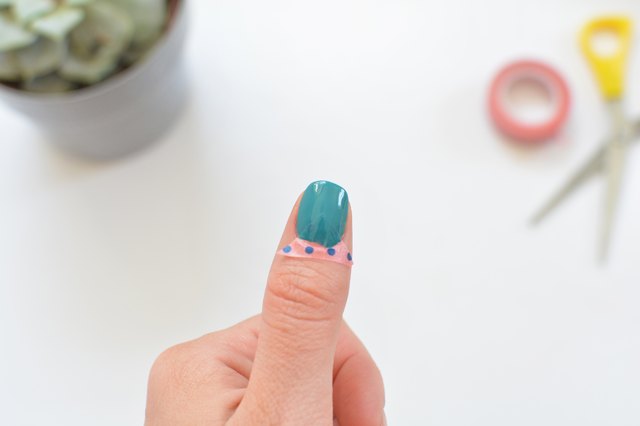
Step 2
Take the colored nail polish and paint over the whole nail, including over the tape. Paint in one direction from the cuticle to the tip of the nail.
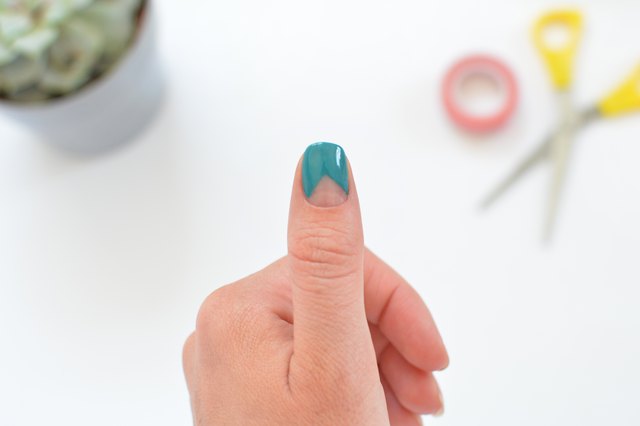
Step 3
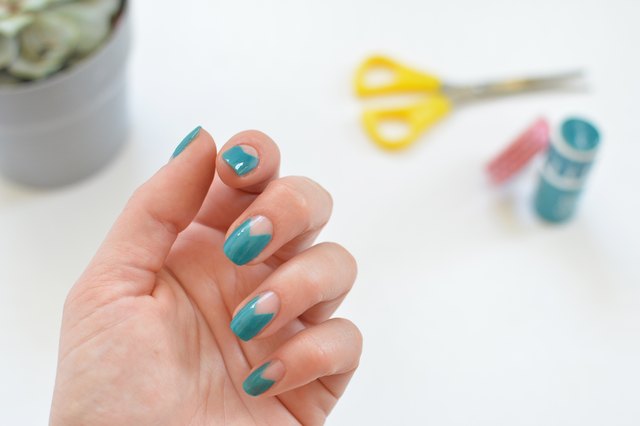
Gently remove the sticky tape before the polish has dried to reveal the bare nail underneath. If you need to tidy up any edges, you can dip a fine paintbrush into nail polish remover to remove any excess polish.
Step 4
Repeat the process on the remaining nails to finish. Remember to seal the nails with a top coat for a longer lasting manicure.
Experiment with different colors and tape placement to create your own negative space nail art designs!